Soy wax candles have gained popularity due to their clean-burning nature, eco-friendliness, and ability to hold fragrance well. Making your own soy wax candles can be a rewarding and enjoyable craft project, allowing you to customize scents, colors, and container choices to suit your preferences. Whether you're a beginner or looking to expand your candle-making skills, this comprehensive guide will take you through the process step-by-step.
Materials You'll Need to Make Soy Wax Candles:
- Soy Wax: Choose a high-quality soy wax designed for candle-making.
- Candle Wicks: Select wicks appropriate for soy wax candles, considering the diameter of your container.
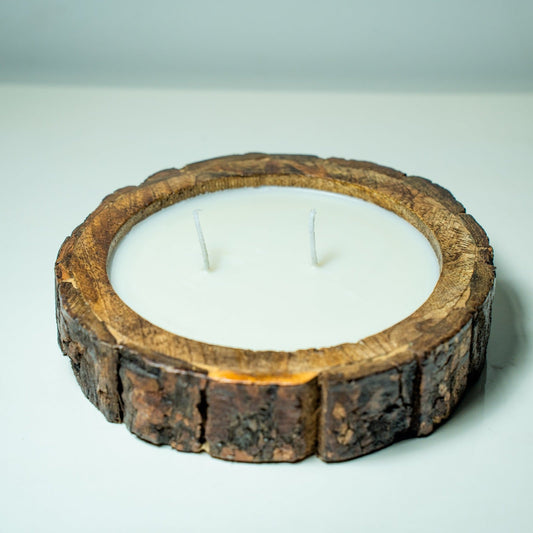
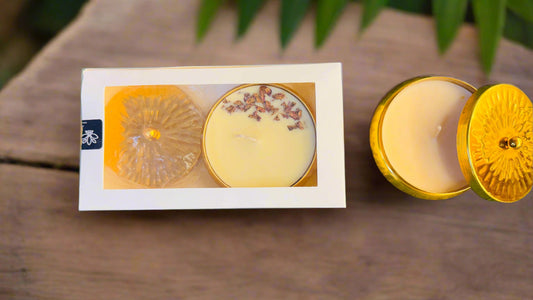
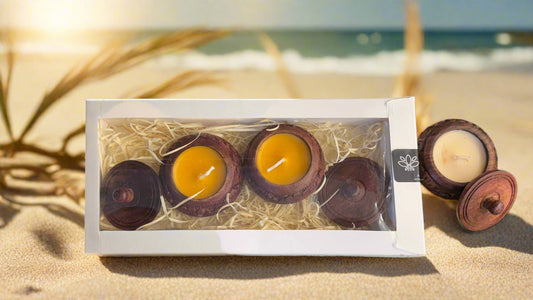
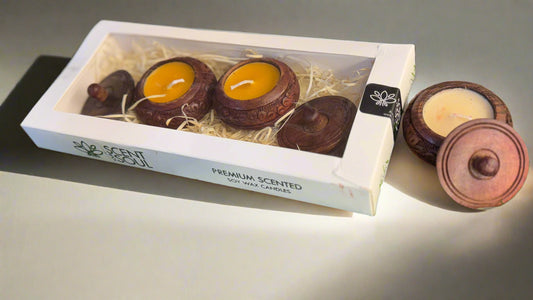
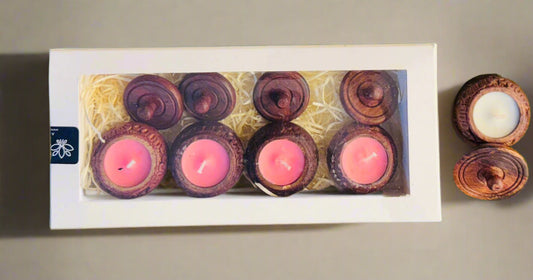
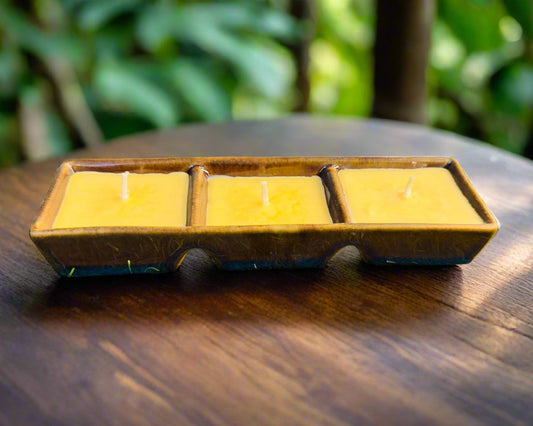
- Containers: Clean wooden jars or other heat-resistant containers of your choice.
- Fragrance Oils: Optional, for scented candles.
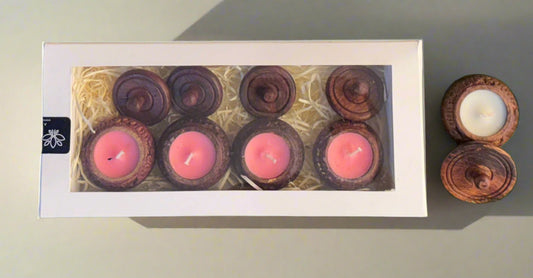
- Dye Blocks or Chips: Optional, for colored candles.
- Double Boiler or Wax Melter: To melt the wax gently.
- Thermometer: To monitor wax temperature.
- Stirring Utensil: Wooden or metal for stirring wax and fragrance oils.
- Hot Glue Gun: To secure wicks to the bottom of containers.
- Scale: For precise measurement of wax and fragrance.

Step 1: Prepare Your Workspace
Set up a clean and organized workspace. Cover surfaces with newspaper or wax paper to catch any spills. Ensure good ventilation if working with fragrance oils.
Step 2: Prepare Containers and Wicks
1. Wick Placement: Use a hot glue gun to adhere wicks to the bottom center of each container. Ensure the wick is straight and centered.
2. Secure Wicks: If necessary, use a wick holder or pencil laid across the top of the container to keep the wick centered and straight.
Step 3: Melt the Soy Wax
1. Measure Wax: Weigh out the amount of soy wax needed for your containers, considering the volume and size.
2. Melt Wax: Use a double boiler or wax melter to heat the wax gently. Avoid direct heat, as soy wax can be sensitive to high temperatures.
3. Monitor Temperature: Use a thermometer to monitor the wax temperature. Heat to around 170-180°F (77-82°C) to ensure all wax is melted and well-combined.
Step 4: Add Fragrance
1. Measure Fragrance: If adding fragrance oil, measure it out according to the recommended ratio (usually 1 ounce per pound of wax).
2. Mix Carefully: Add fragrance oil to the melted wax and stir gently for 1-2 minutes to ensure even distribution.
Related Blog: 20 Most Popular Scented Candle Fragrances
Step 5: Add Color
1. Determine Color: If coloring your candles, add dye blocks or chips to achieve the desired shade. Use a small amount and stir thoroughly until melted and evenly dispersed.
2. Mix Well: Ensure the color is fully integrated into the wax before pouring.
Step 6: Pour Wax into Containers
1. Prepare for Pouring: Allow the wax to cool slightly (around 140-150°F or 60-65°C) to prevent sinkholes and adhesion issues.
2. Pour Carefully: Slowly pour the wax into each container, leaving a small amount of space (about 1/2 inch) from the top.
3. Straighten Wicks: Adjust the wicks if they shift during pouring to keep them centered.
Step 7: Let Candles Cool and Set
1. Cooling Time: Allow the candles to cool and set at room temperature. This process may take several hours.
2. Trim Wicks: Once completely cooled, trim the wicks to about 1/4 inch above the wax surface for optimal burning.
Step 8: Final Touches
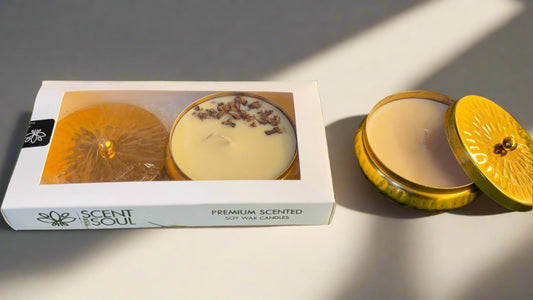
1. Labeling: Label your candles with fragrance, date of creation, and any other relevant information.
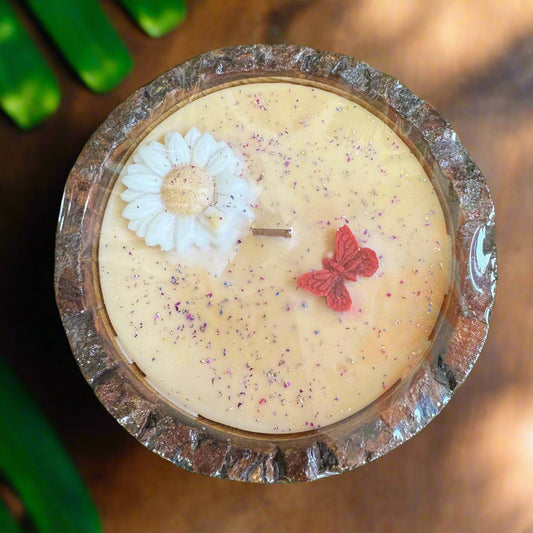
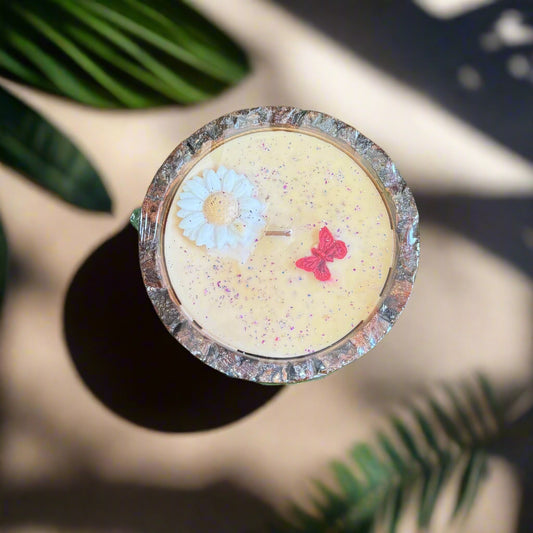
2. Decorate Containers: Optionally, decorate the containers with labels, ribbons, or tags to personalize them.
Related Blog: Natural Soy Wax Scented Candles: A Comprehensive Guide
Tips for Success:
- Patience: Allow each step, from melting wax to cooling, to proceed at its own pace.
- Quality Ingredients: Use high-quality soy wax and fragrance oils for better results.
- Experiment: Don't hesitate to experiment with different fragrances, colors, and container styles to find your favorite combinations.
Safety Precautions:
- Heat Handling: Be cautious when handling hot wax and equipment.
- Ventilation: Ensure good ventilation, especially when working with fragrance oils.
Making soy wax candles is not only a creative endeavor but also a way to create personalized gifts or enhance your living space with beautiful scents. With practice, you can refine your technique and develop your own unique candle-making style. Enjoy the process and the satisfaction of creating something handmade and delightful!
FAQs.
Q: What materials are needed to make soy wax candles at home?
To make soy wax candles at home, you'll need soy wax flakes, cotton or wood wicks, a heat-safe container, a double boiler or microwave-safe bowl for melting wax, fragrance oils, a thermometer, and a stirring utensil. You may also want to add dye for color and wick stickers to secure the wick.
Q: How do I melt soy wax properly?
Soy wax should be melted using a double boiler method for even heating. Heat the wax slowly until it reaches a temperature of around 170-180°F (76-82°C). Avoid overheating as it can cause the wax to discolor or lose its scent-holding properties. Stir occasionally to ensure a smooth melt.
Q: Can I add fragrance oils to my soy wax candles?
Yes, fragrance oils can be added to soy wax candles to create a pleasant scent. It’s recommended to add the fragrance oil when the wax has cooled to around 140-150°F (60-65°C). Use 1 oz of fragrance oil per pound of wax for a strong scent throw, but be mindful of the wax’s fragrance load capacity.
Q: How do I choose the right wick size for soy wax candles?
Choosing the right wick depends on the diameter of your candle container. A wick that is too small won't burn the wax efficiently, while a large wick can cause excess soot and high flames. Use a wick size chart based on your container's width, and experiment to find the perfect size for an even burn.
Q: How long should I let soy wax candles cure before using?
Soy wax candles need time to cure to enhance their scent throw and burn quality. It's best to allow them to cure for 1-2 weeks before lighting. This period lets the fragrance fully bind to the wax, resulting in a stronger and longer-lasting aroma when the candle is burned.
Q: Why is my soy wax candle frosting, and how can I prevent it?
Frosting is a natural occurrence with soy wax and doesn’t affect the candle's performance. It happens when the wax cools too quickly. To minimize frosting, pour the wax at a lower temperature and allow the candle to cool slowly in a stable environment, free from drafts or temperature fluctuations.
Q: Can I reuse leftover wax from old soy candles?
Yes, leftover wax from old soy candles can be reused by melting it down and combining it with new wax. However, the scent from the old wax may be diminished, so it’s often a good idea to add fresh fragrance oil to the mixture. Ensure that the wick is replaced to maintain an optimal burn.
Q: How can I avoid air bubbles in my soy wax candles?
To prevent air bubbles, pour the melted wax slowly into the container, and avoid stirring the wax too vigorously. After pouring, gently tap the container to release any trapped bubbles. You can also pre-warm the candle container to reduce the chance of bubbles forming as the wax cools.
Q: Why is my soy wax candle not burning evenly?
Uneven burning can be caused by an incorrectly sized wick, or by not allowing the candle to burn long enough for the wax pool to reach the container’s edges. To fix this, ensure you’re using the right wick size, and always let the candle burn until the entire surface has melted before extinguishing it.
Q: How can I clean up spilled soy wax?
Soy wax is easy to clean up because it's biodegradable. If spilled, allow the wax to harden, then gently scrape it off surfaces. For fabrics, freeze the wax first, scrape it off, and then wash the area with warm soapy water. Soy wax cleans up easily with soap and water compared to paraffin wax.